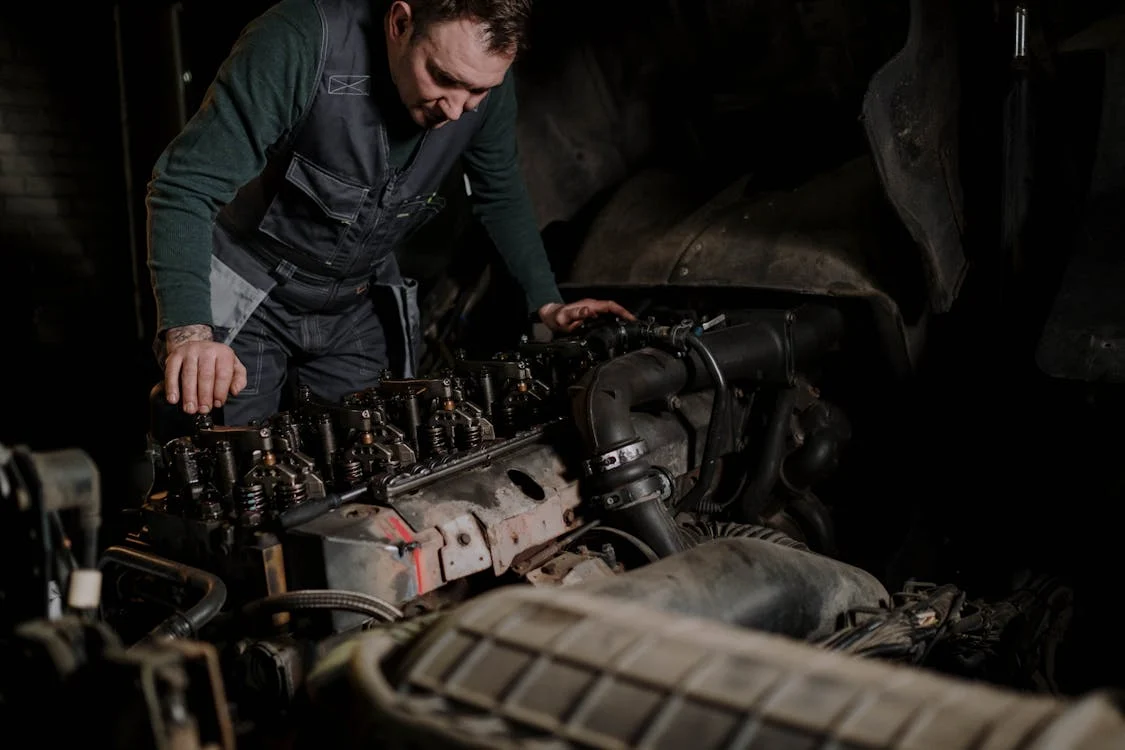
If you’re noticing white exhaust smoke, engine overheating, or coolant pooling where it shouldn’t be, you may be dealing with a blown head gasket. It’s a common issue in modern engines, caused by head gasket failure due to long-term wear, engine overheating, or extreme cylinder pressure. While replacing the cylinder head gasket can seem like a big task, it’s absolutely something you can handle with the right parts and a bit of patience.
At Behind the 8, we provide high-quality parts, like durable cylinder head gaskets and other components, to help you get the job done right.
What is a Cylinder Head Gasket and Why Does It Fail?
A cylinder head gasket sits between the cylinder block and cylinder head, keeping the combustion chamber sealed and preventing oil and coolant from mixing. When the gasket fails—whether due to overheating or natural wear—it can lead to head gasket leaks, loss of engine power, or even contaminated engine oil. If you don’t address a blown head gasket quickly, it can cause further damage to your engine block or other engine components.
So, how do you replace cylinder head gaskets? Let’s walk you through the process step by step.
Tools You’ll Need:
Before starting, gather the following tools and parts:
- Torque wrench
- Socket set
- Screwdrivers
- Gasket scraper
- Rubber mallet
- New cylinder head gasket (we recommend multi-layer steel types for modern engines)
- Fresh engine oil, engine coolant
- Sealant (if your vehicle’s service manual calls for it)
Once you’ve got the tools and the parts (which you can get from Behind the 8, of course), you’re ready to begin.
Step 1: Disconnect the Battery and Drain Fluids
Safety comes first! Disconnect the negative terminal of your battery to prevent any electrical issues. Then, drain your engine oil and coolant to avoid a mess when removing the cylinder head. This step makes the rest of the job much smoother.
Step 2: Remove the Intake and Exhaust Manifolds
You’ll need to take off both the intake manifold and the exhaust manifold to access the cylinder head. Label the bolts or store them in an organized way so reassembly goes smoothly. A tip: take pictures of the setup to help remember where everything goes when it’s time to put it all back together.
Step 3: Remove the Cylinder Head
Now, carefully remove the cylinder head. Use your torque wrench to loosen the bolts in the sequence recommended by your service manual (typically from the outer edges toward the center). This prevents warping of the cylinder head.
After removing the bolts, gently lift off the cylinder head. If it’s stuck, use a rubber mallet to gently knock it loose. Be careful not to damage any other engine components. Heavier heads may require an engine hoist to remove.
Step 4: Clean the Gasket Surfaces
With the cylinder head off, you’ll see the old gasket. Use a gasket scraper to clean the surfaces of the engine block and cylinder head. Be thorough here—leftover gasket material can cause cylinder head gaskets to leak when you install the new one.
At this stage, inspect the coolant passages and the surface of the cylinder block for any signs of damage. If the head or block is warped or cracked, that may require additional professional work before you can proceed with reassembly.
Step 5: Install the New Cylinder Head Gasket
Now it’s time to position the new cylinder head gasket on the cylinder block. Make sure all the bolt holes and coolant passages line up correctly. The gasket should fit snugly without the need for excessive sealant unless your service manual recommends it.
Step 6: Reinstall the Cylinder Head and Torque the Bolts
Carefully place the cylinder head back onto the engine. Hand-tighten the bolts to get them into place, then use the torque wrench to tighten them according to the specified pattern and torque settings from your service manual. This ensures the head gasket is properly sealed to prevent future coolant leaks or oil leaks.
Step 7: Reassemble Other Engine Components
After securing the cylinder head, reattach the intake manifold, exhaust manifold, and any other parts you removed. Take this opportunity to check the condition of your timing belt, hoses, and any sensors connected to the engine.
Step 8: Refill Fluids and Test
Once everything is reassembled, refill the engine with fresh engine oil and engine coolant. Reconnect the battery, start the engine, and watch the temperature gauge closely. Monitor for signs of overheating or coolant leaks. You may need to bleed the cooling system to remove any air pockets trapped in the system.
After a quick test drive, inspect the engine for any leaks. If everything is in working order, you’ve successfully replaced your head gasket!
Wrapping It Up: Behind the 8 Has the Parts You Need
Replacing a cylinder head gasket may be a complex job, but with the right parts and a bit of determination, it’s something you can handle. At Behind the 8, we supply the top-quality head gaskets, tools, and other parts you need to get the job done yourself. With over 25 years of experience in the industry, we ensure you get durable, reliable components—so your engine can run smoothly for years to come.


Comments are closed